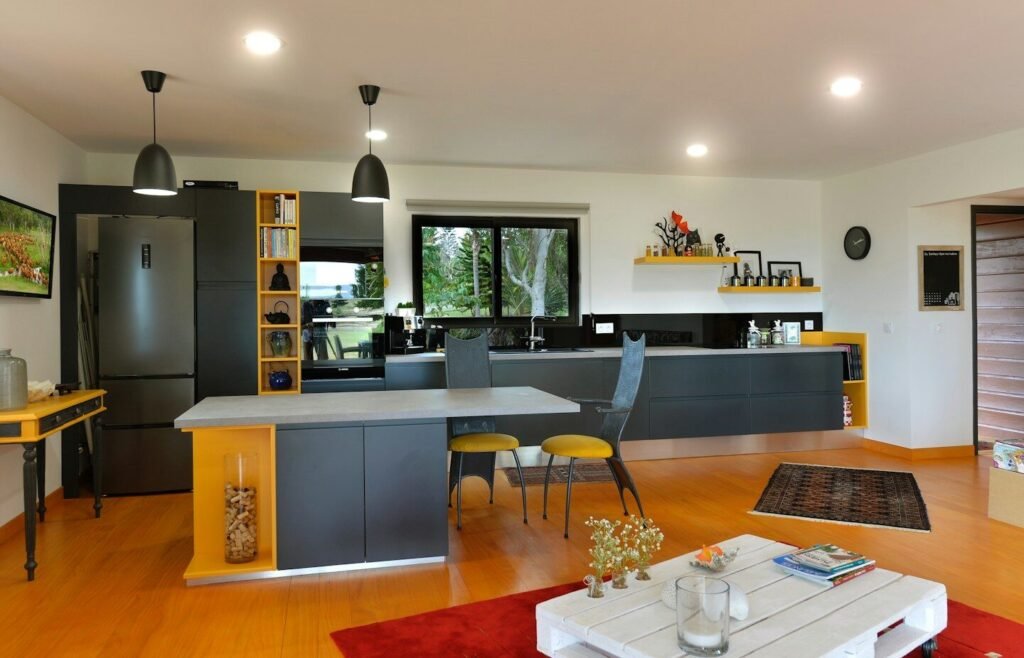
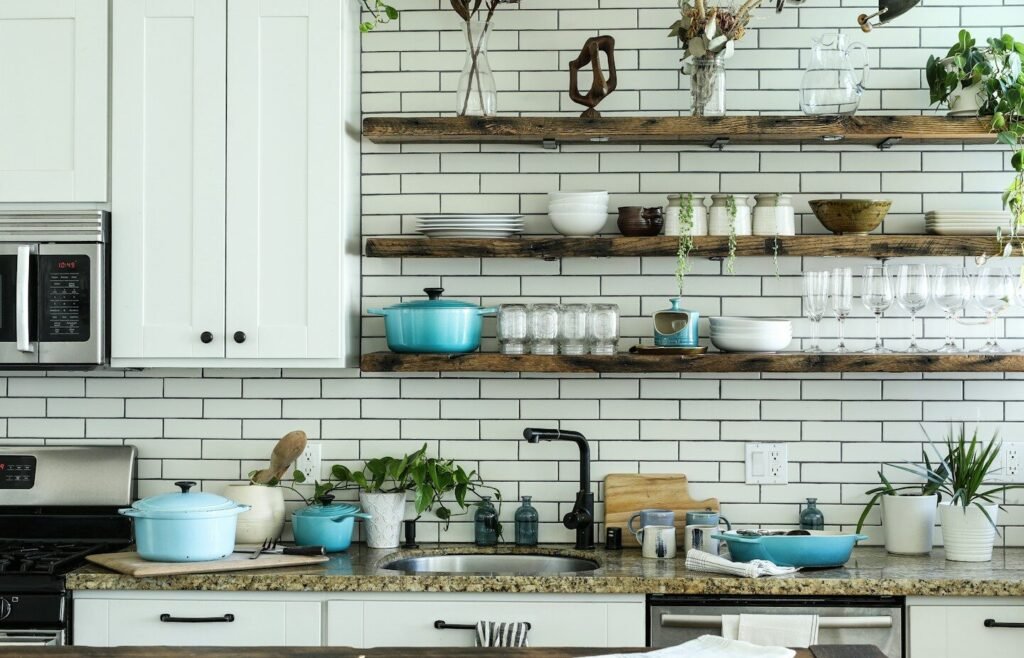
Upper cabinets hide a lot. They hide the plates you use every day, the mugs you reach for each morning, and the clutter that builds up behind closed doors. Taking some of them down and replacing them with open shelves changes how a kitchen works, not just how it looks. The open shelving kitchen ideas in this guide focus on that practical side: which cabinets to replace, what to put on the shelves, and how to keep them looking tidy after the first week.
Open shelves suit kitchens where the everyday items are already in good shape and used often. They do not suit every wall or every household, and this guide covers those limits honestly, so you can decide before you start removing cabinets.
What Open Shelving Means in a Kitchen
Open shelving means wall-mounted shelves without doors, used in place of some or all upper cabinets. Plates, bowls, glasses, and a few decorative pieces sit out in the open, within reach, instead of behind a door.
The appeal is simple: everything is visible, so you find things faster, and the kitchen feels less boxed in because the wall is not covered in cabinet fronts. The trade-off is equally simple: everything is visible, so clutter shows, and shelves need regular wiping. Both sides matter when you decide how much shelving to add.
Before You Remove Any Cabinets
Start with what you actually store. Open a few upper cabinets and look at what is inside. If the contents are mismatched, chipped, or rarely used, open shelves will show all of that. If the contents are mostly everyday plates, bowls, and glasses in decent condition, they will look fine on display.
Check the wall as well. Shelves need solid fixing, and the fixing depends on the wall type. Stud walls, masonry, and plasterboard each need different anchors, so use anchors rated for your wall type and for the weight the shelf will carry. If you are unsure about the wall, or if the work involves moving wiring, plumbing, or a load-bearing structure, hire a licensed professional rather than guessing.
Measure before you buy anything. Note the width of the wall, the height between the counter and the ceiling, and where outlets, windows, and vents sit. Shelves that block an outlet or crowd a window cause daily annoyance, and that is easy to prevent with a tape measure.
Ideas That Work Best
The five points below carry the most weight. Get these right and the rest of the kitchen falls into place.
1. Replace one run of cabinets, not all of them
The most common mistake with open shelves is removing every upper cabinet at once. A kitchen with no closed storage at all leaves nowhere to hide the items that are not worth displaying: cleaning supplies, mismatched containers, spare parts, and the things you use twice a year.
A better approach is to replace one run of cabinets, usually the run over the main work area or the sink, and keep closed storage elsewhere. That gives you the open, airy feel where you spend the most time, while the rest of the kitchen still hides the mess. If the open run works well after a few months, you can extend it. If it does not, you have only changed one wall, not the whole kitchen.
This approach also keeps the project manageable. Removing one run means less disruption, fewer holes to repair, and a smaller bill for shelves and brackets. It also lets you test whether your household actually likes living with open shelves before committing the whole room to them.
2. Keep everyday items low and display pieces high
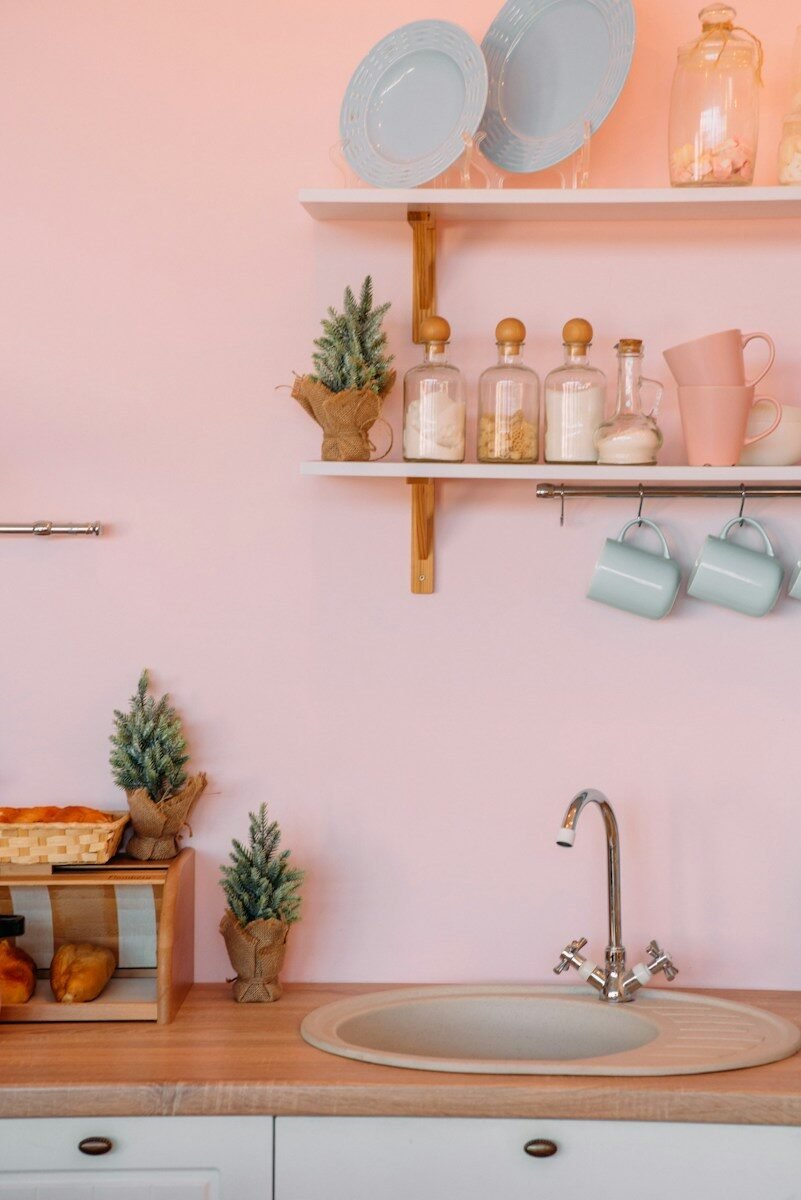
Shelves work best when they follow a simple order: the things you use every day sit at arm’s reach, and the things you rarely touch sit higher up. Plates, bowls, and daily glasses belong on the lowest shelf, where you can grab them without a step stool. Serving dishes, vases, and decorative pieces belong higher, where they are seen but not needed daily.
This order matters for safety as well as convenience. Heavy items stored high are harder to lift down and more likely to be dropped. Keep heavy stacks low, keep the top shelf light, and never overload a shelf beyond what its brackets and anchors are rated to carry. If a shelf sags or pulls away from the wall, unload it and refix it before using it again.
Think about who uses the kitchen. In a household with children or older family members, the lowest shelf should hold the items those people need, and nothing breakable should sit where it can be knocked down easily. A shelf plan that works for one person standing alone may not work for a busy family kitchen.
3. Match the shelf material to the kitchen you already have
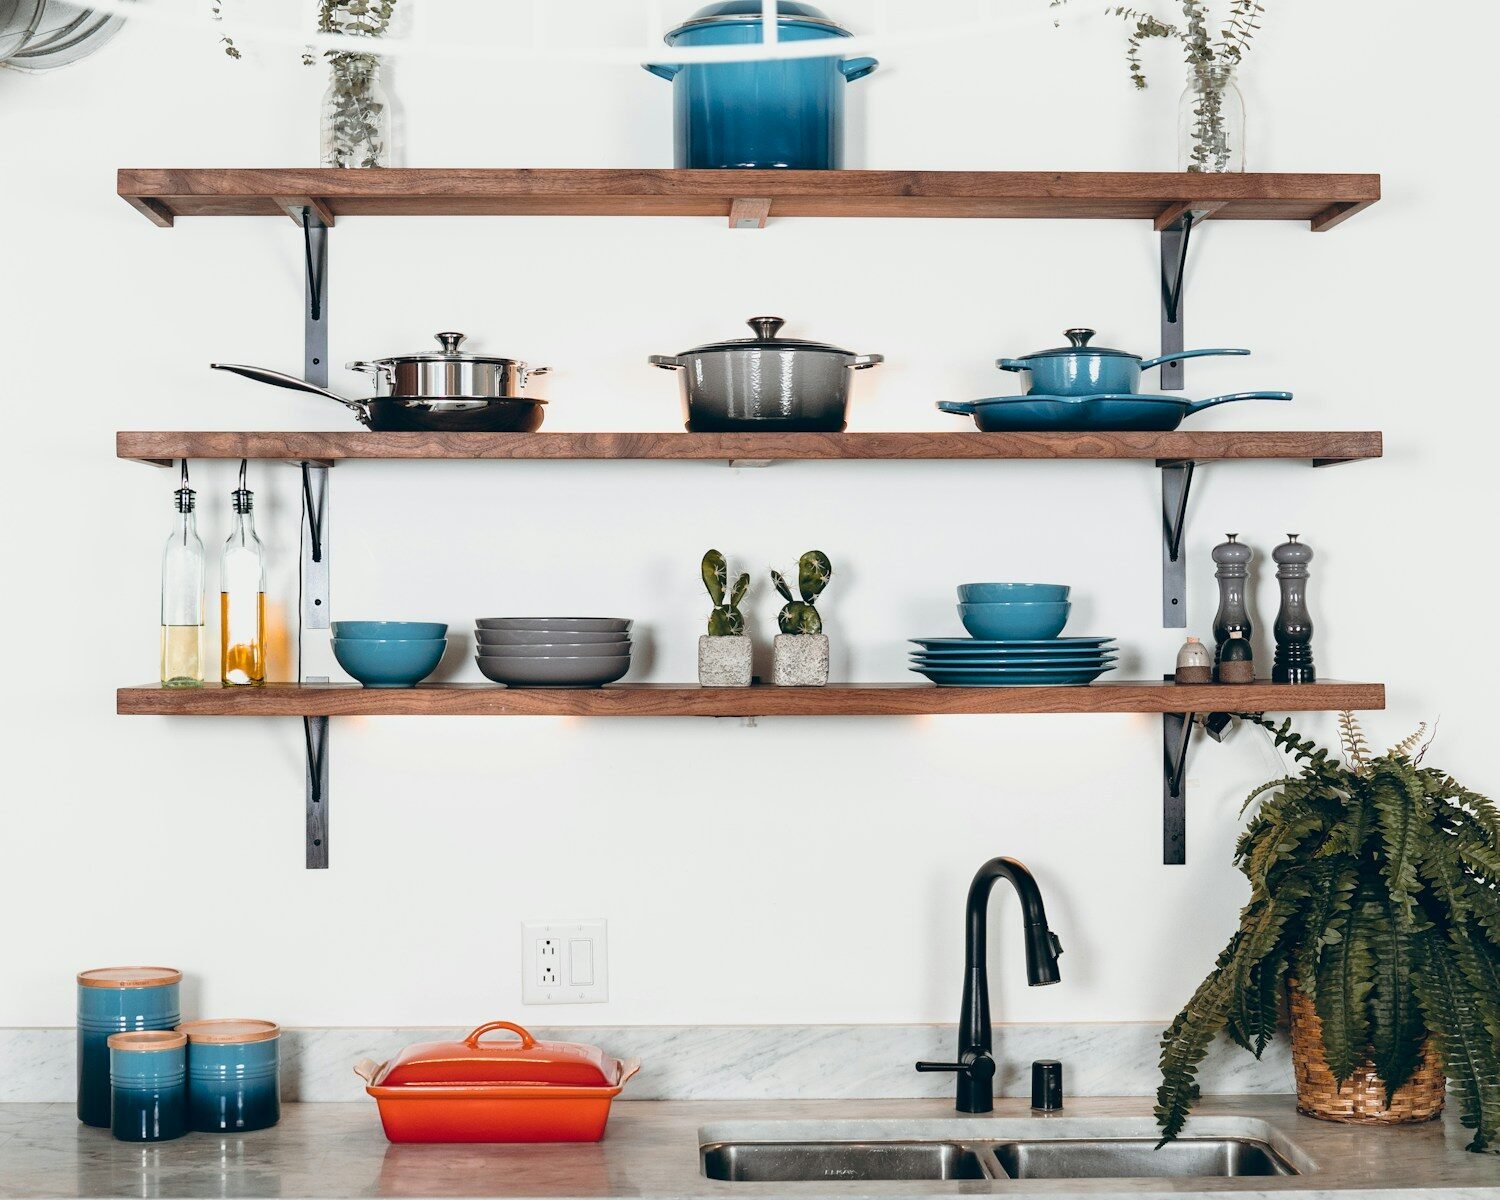
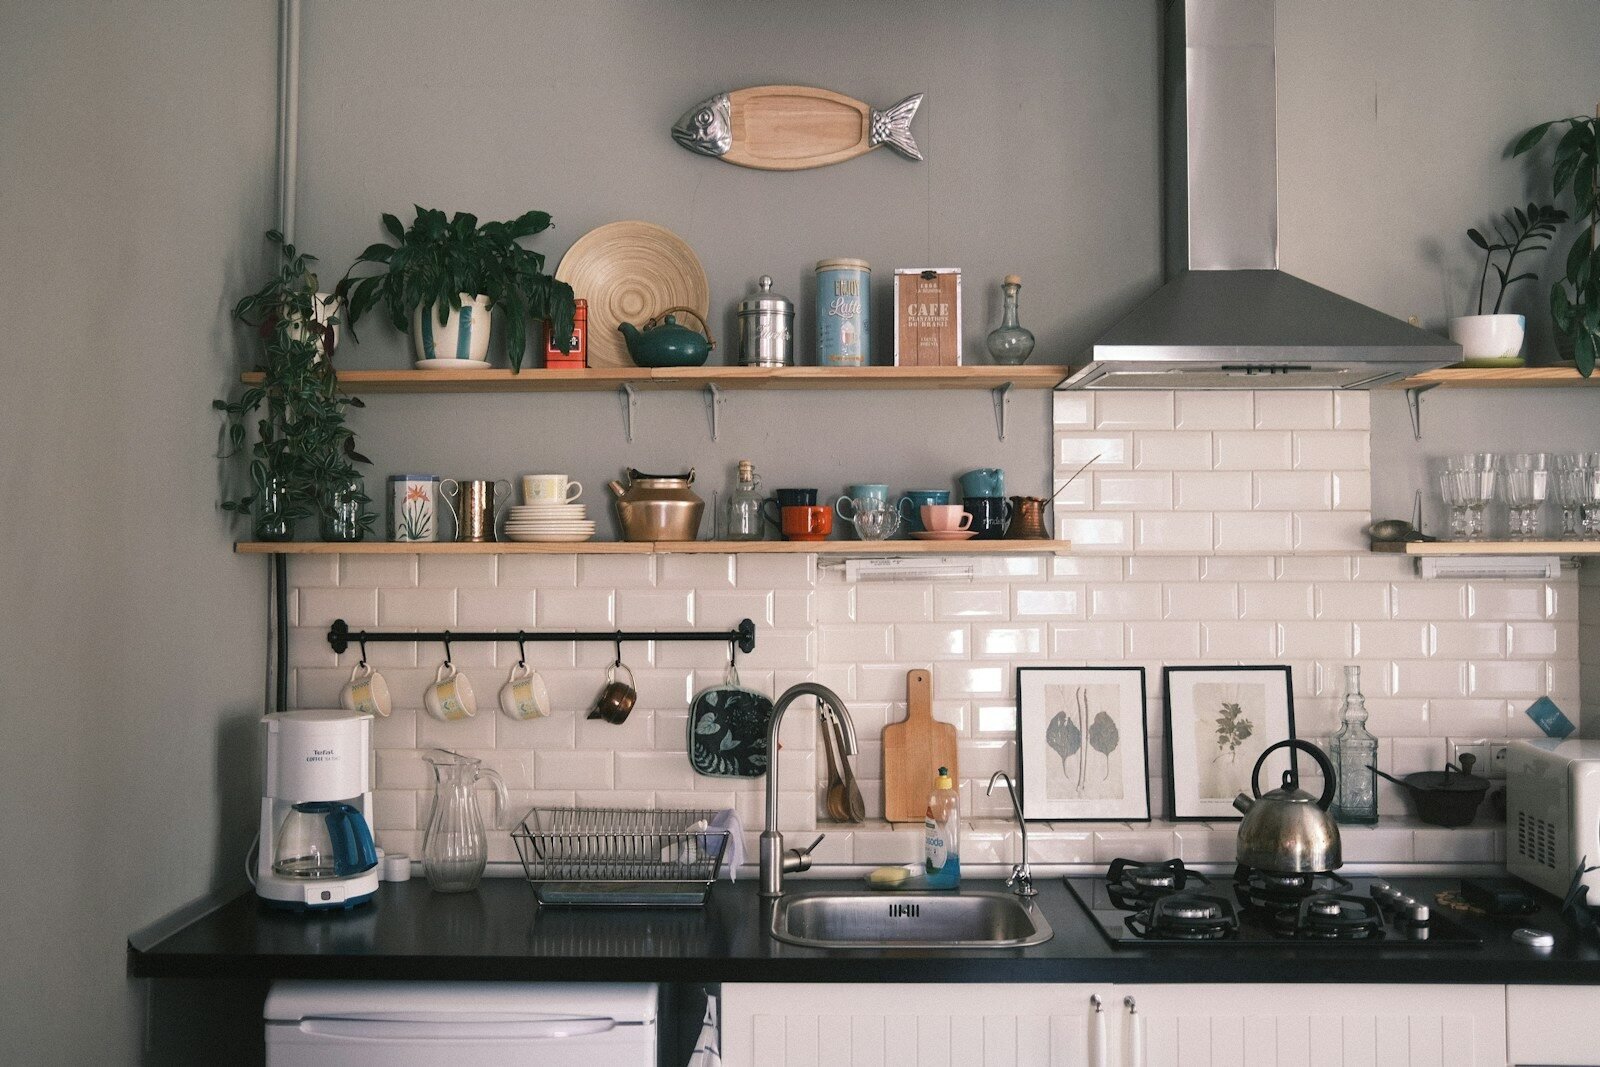
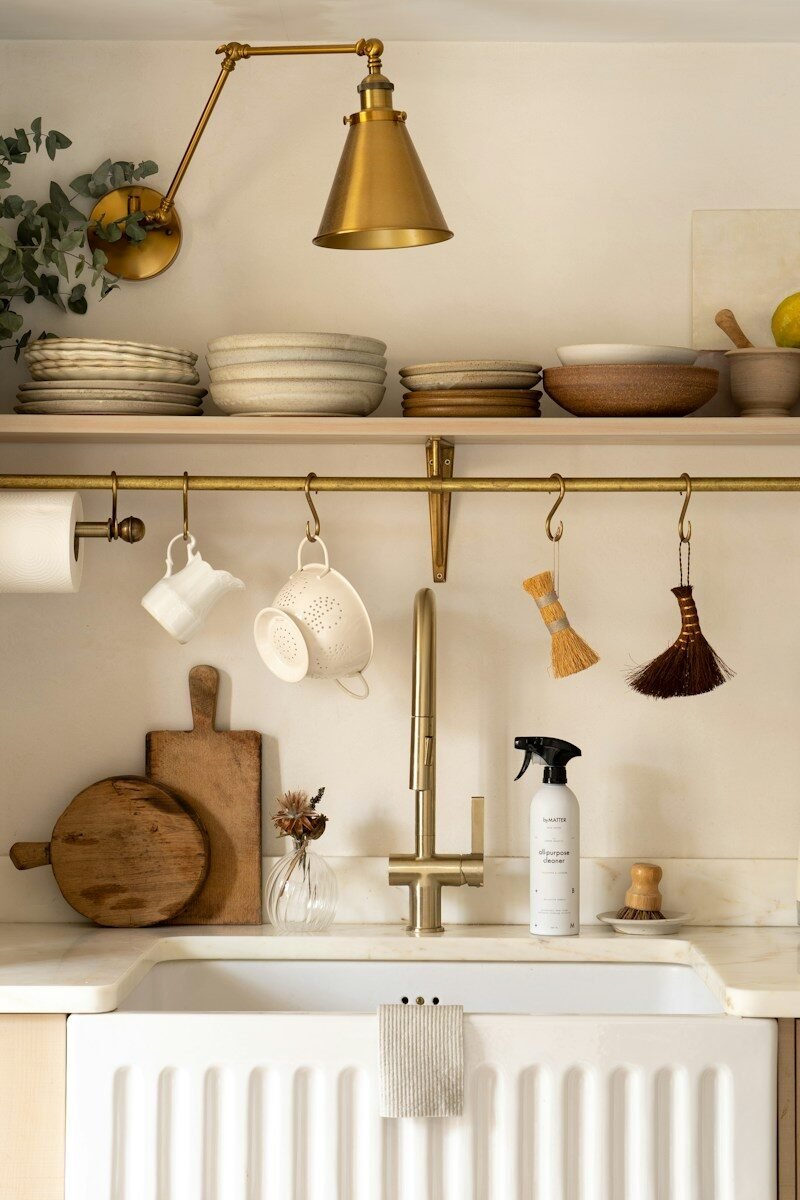
Shelves look best when they match something already in the room. Wood shelves suit kitchens with wooden floors, butcher block counters, or warm tones. Metal brackets and shelves suit kitchens with stainless appliances and cooler tones. Painted shelves can match the wall color and almost disappear, which works well in small kitchens where you want the shelves to feel light.
Thickness matters too. A thin shelf under a stack of plates will bend over time, while a thicker board stays straight and looks intentional. As a rule, choose boards thick enough to hold their shape under a full load, and keep the span between brackets short enough that the board does not sag in the middle. The shelf supplier or manufacturer can advise on span and load for the material you choose.
Finish matters in a kitchen more than in other rooms, because shelves sit near steam, grease, and splashes. Sealed wood wipes clean more easily than raw wood, and metal shelves handle moisture well. Whatever material you choose, make sure it can be wiped down easily, because kitchen shelves need cleaning more often than shelves elsewhere in the house.
4. Style shelves in groups, not single rows
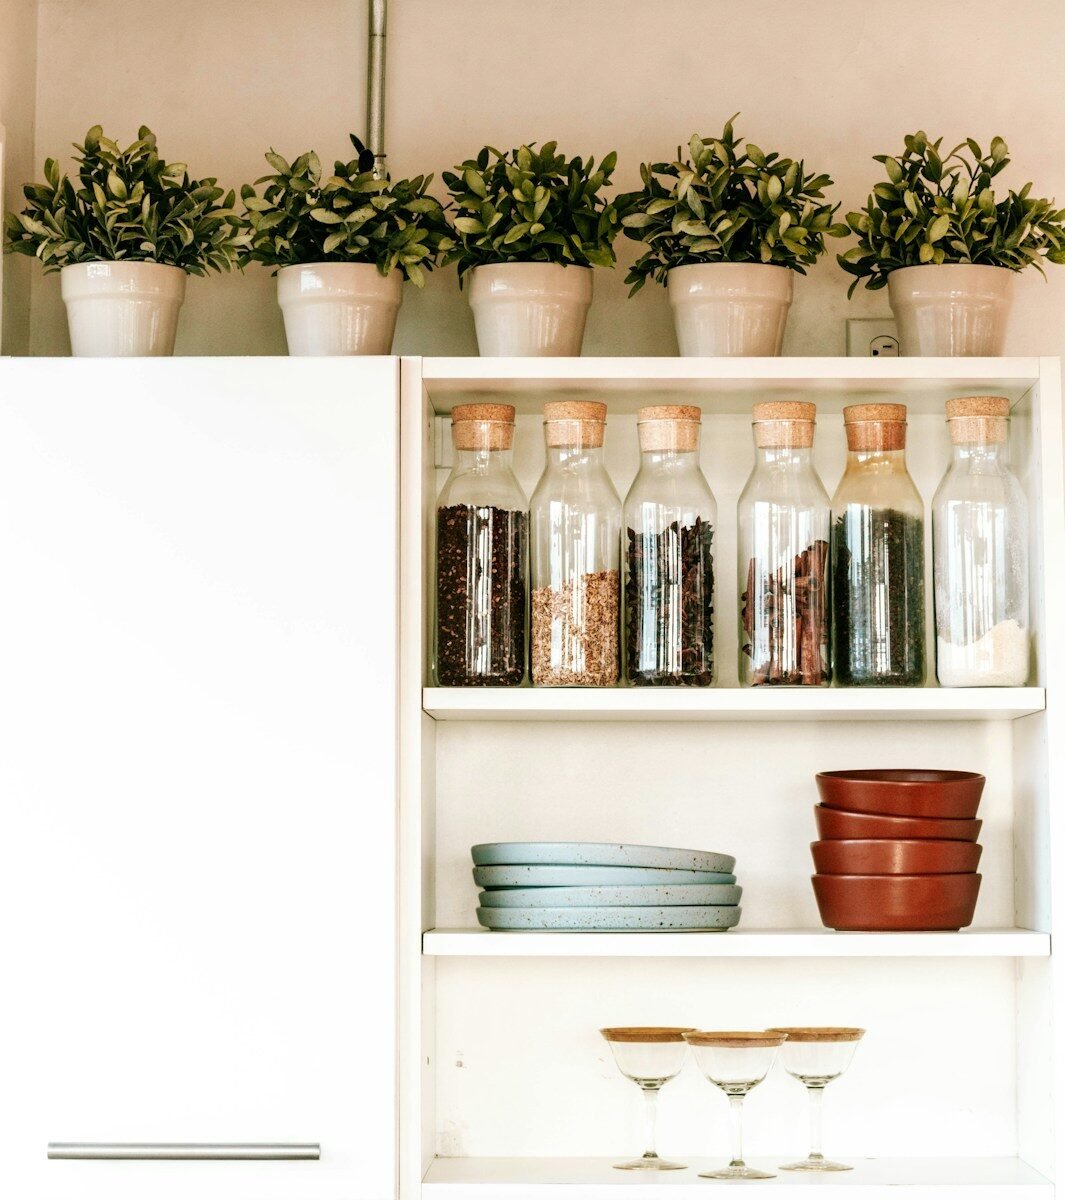
A shelf lined with objects in a single straight row tends to look like a shop display, not a kitchen. Grouping works better: a stack of plates beside a small plant, a row of glasses beside a wooden board, a pitcher beside a few bowls. Groups give the eye somewhere to rest and make the shelf look put together rather than lined up.
Leave empty space on purpose. A shelf that is completely full looks crowded and makes it hard to take anything out without moving three other things. Aim to leave some breathing room at the ends of each shelf and between groups, so you can lift a plate or a glass without disturbing the rest.
Repeat one or two colors or materials across the shelves to tie them together. If your plates are white and your glasses are clear, that is already a palette. Add one accent, such as wooden boards or a green plant, and repeat it on more than one shelf. That repetition is what makes separate shelves read as one design instead of separate piles of things.
5. Plan for dust and grease before you commit
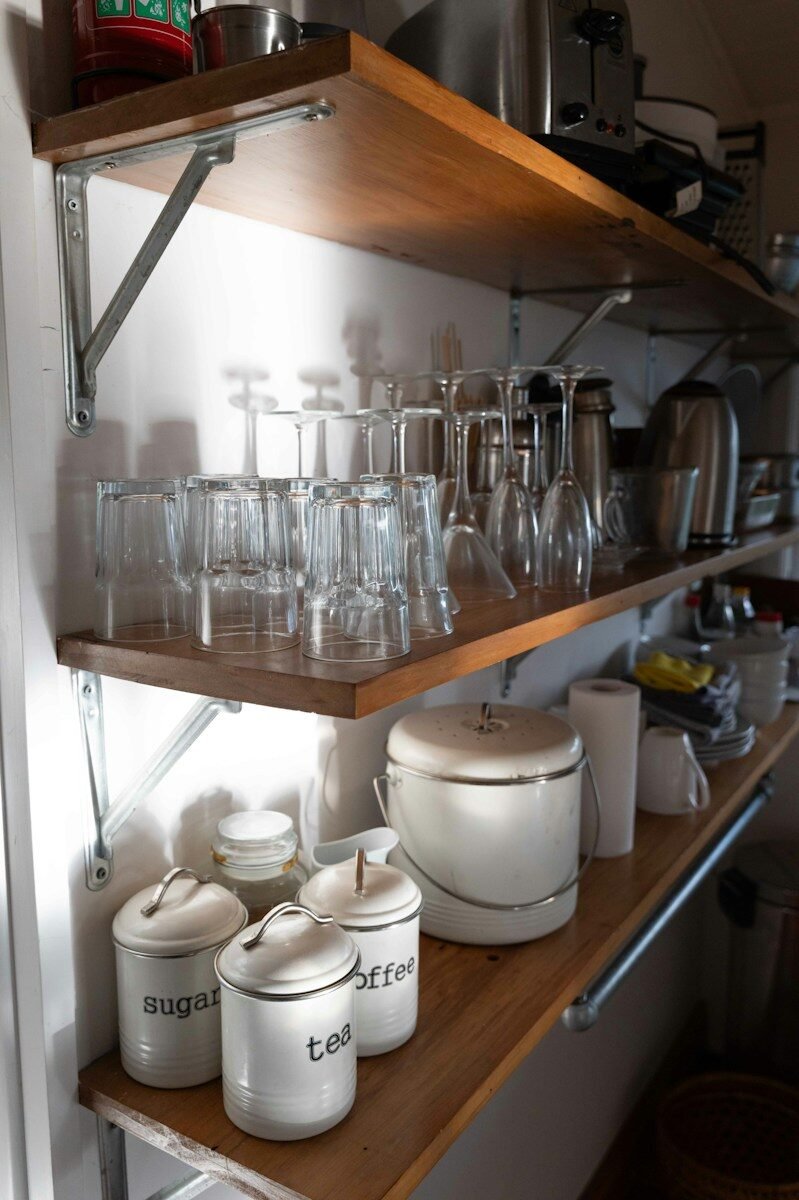
Open shelves collect dust and cooking grease faster than closed cabinets, because nothing protects what sits on them. That is the main ongoing cost of open shelving, and it is worth facing honestly before you remove cabinets.
Items used every day mostly take care of themselves, because they are washed and put back often. The problem is the items that sit untouched for weeks: decorative pieces, spare glasses, and serving dishes. Those need a quick wipe when you notice dust building up, and a proper wash before use if they have sat through heavy cooking.
Placement helps. Shelves near the stove collect grease faster than shelves on the opposite wall, so keep display-only items away from the cooking area and put everyday items there instead. A small habit of wiping the shelf fronts when you wipe the counters keeps the job small, while leaving it for months turns it into a large one.
Other Quick Ideas
These ideas are worth knowing, but they work best as support for the five main points above rather than as the whole plan.
- One short shelf beside the stove for oils and spices you use daily, kept clear of heat and steam where possible.
- A shelf above the coffee station for mugs, so the morning routine stays in one spot.
- Hooks under the lowest shelf for measuring cups or small utensils.
- A rail or ledge on the wall for cookbooks, kept away from the sink splash zone.
- Matching jars for dry goods on one shelf, so the shelf reads as tidy even when full.
Mistakes to Avoid
- Removing every upper cabinet before testing whether open shelves suit your household.
- Mounting shelves without checking the wall type or using the wrong anchors.
- Storing heavy items high, where they are hard to lift and easy to drop.
- Filling every shelf edge to edge, leaving no room to take things out.
- Placing display pieces right beside the stove, where grease builds up fastest.
- Choosing shelves that cannot be wiped clean in a kitchen environment.
Safety Notes Before You Start
Wall-mounting shelves is straightforward work, but it must be done properly. Use wall anchors suited to your wall type, fix brackets into studs where the wall allows, and check that each shelf is level and firm before loading it. If a shelf feels loose, do not load it until it is fixed.
For any work that involves electrical wiring, moving outlets, plumbing, gas lines, or structural changes such as removing a load-bearing wall, hire a licensed professional. Follow the manufacturer’s instructions for brackets and anchors, and keep shelves clear of heat sources and open flames.
FAQs
How many shelves should a kitchen have?
It depends on the wall and what you need to store. One or two shelves over a work area suit most kitchens, while a full wall of shelves suits a kitchen with little else to store. Start with fewer shelves and add more only if the first ones stay tidy and useful.
What should go on open shelves?
Everyday plates, bowls, glasses, and mugs work best, because they are used and washed often. Keep cleaning supplies, mismatched containers, and rarely used items in closed cabinets instead, where they stay out of sight.
How do I keep open shelves from looking cluttered?
Group items instead of lining them up, leave empty space at the ends of each shelf, and repeat one or two colors or materials across the shelves. If a shelf starts to look crowded, move something back into a closed cabinet rather than adding another shelf.
Can I install open shelves in a rented kitchen?
In many rentals, yes, with permission. Ask the landlord first, since mounting shelves means drilling into walls. Freestanding shelf units or shelves that use existing fixings are options where drilling is not allowed, but check the terms of your lease before starting.
Conclusion
A kitchen with open shelves works when the shelves hold what you actually use, sit where you can reach them, and match the room they are in. Start with one run of cabinets, keep everyday items low, choose a material that wipes clean, and leave room to breathe. Done that way, open shelving kitchen ideas stop being a trend to copy and start being a setup that makes daily cooking simpler.