The space above kitchen cabinets is easy to ignore. It collects dust, it is hard to reach, and it sits in plain sight at the same time. With a little planning, though, it can hold useful storage or a simple display that makes the whole kitchen feel finished. Kitchen decorating ideas above cabinets work best when you pick one clear approach, keep the number of objects low, and choose pieces that can handle warmth, cooking grease, and dust.
Before you place anything up there, it helps to understand the space. Most cabinets leave a gap of a foot or more below the ceiling, and the top surface is rarely level or clean. Heat rises from the stove, steam rises from kettles and pots, and a thin film of grease settles on everything over time. Anything you put up there will need cleaning sooner or later, and anything fragile, heavy, or heat-sensitive is a poor choice. Start with these realities and the decorating decisions become much simpler.
Clear, clean, and measure first
Take everything down, if anything is already up there, and clean the tops of the cabinets properly. Warm water with a small amount of dish soap removes most grease; a second wipe with clean water takes off the residue. Let the surface dry completely before you put anything back, or dust will stick to the damp surface right away.
Measure the height, depth, and length of the gap. This matters more than it seems. A basket that is an inch too tall will look squeezed against the ceiling, and a row of objects that is deeper than the cabinet top can overhang the front edge and look unstable. Write the measurements down and keep them with you when you shop, so you are not guessing in the store. Note also where vents, light fixtures, and the range hood sit. Never block a vent or cover a light fixture, and keep the area above and around the stove clear of anything that could catch heat or fall onto the cooking surface.
Think about how you will reach the space later. A sturdy step stool kept nearby makes cleaning and rearranging far easier than dragging a chair across the kitchen. If reaching the top of the cabinets feels unsafe for you, choose a display that needs almost no attention, or ask someone to help with the setup and cleaning.
Use baskets and boxes for hidden storage
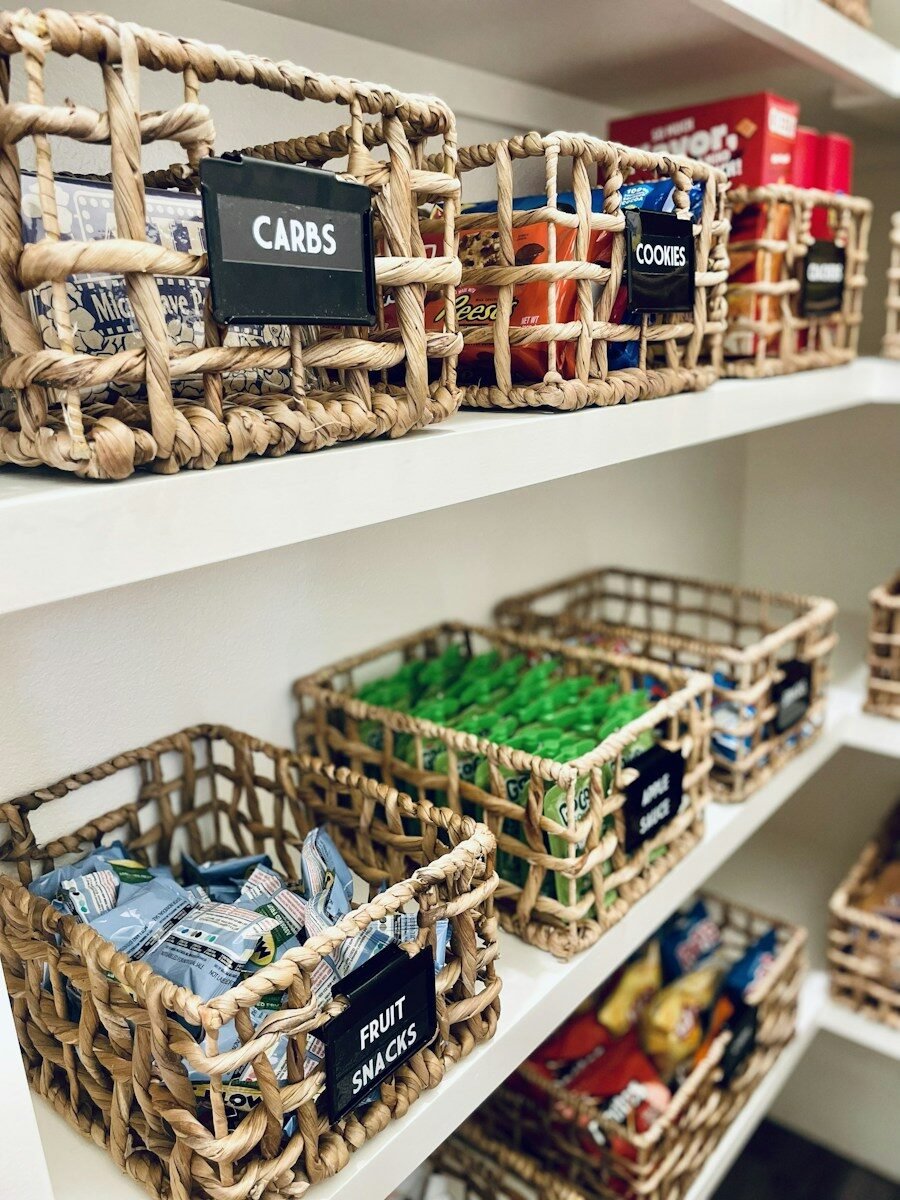
If your kitchen is short on storage, the tops of the cabinets are genuinely useful, but open piles of spare items look messy fast. Matching baskets or lidded boxes solve this. They hide the contents, they give the eye one calm shape to follow, and they protect items from dust and grease.
Pick baskets that fit the measurements you took, with lids if possible. Natural fibres like seagrass and cotton rope look warm and suit most kitchens, while plain lidded boxes in a neutral colour suit a more modern room. Use the same type across the whole run of cabinets rather than mixing several styles. Three or four matching baskets in a row look deliberate; a jumble of different containers looks like overflow.
Label the baskets if you will actually use what is inside them. A small tag on the front edge is enough. Good candidates for up-top storage are items you use rarely but still want in the kitchen: holiday serving dishes, a spare tablecloth, seasonal baking trays, or a picnic set. Keep everyday items in lower cabinets where you can reach them without a stool. Avoid storing anything heavy above the cabinets. If a basket is hard to lift down safely, it is too heavy for that spot.
Repeat one material or colour for a calm look
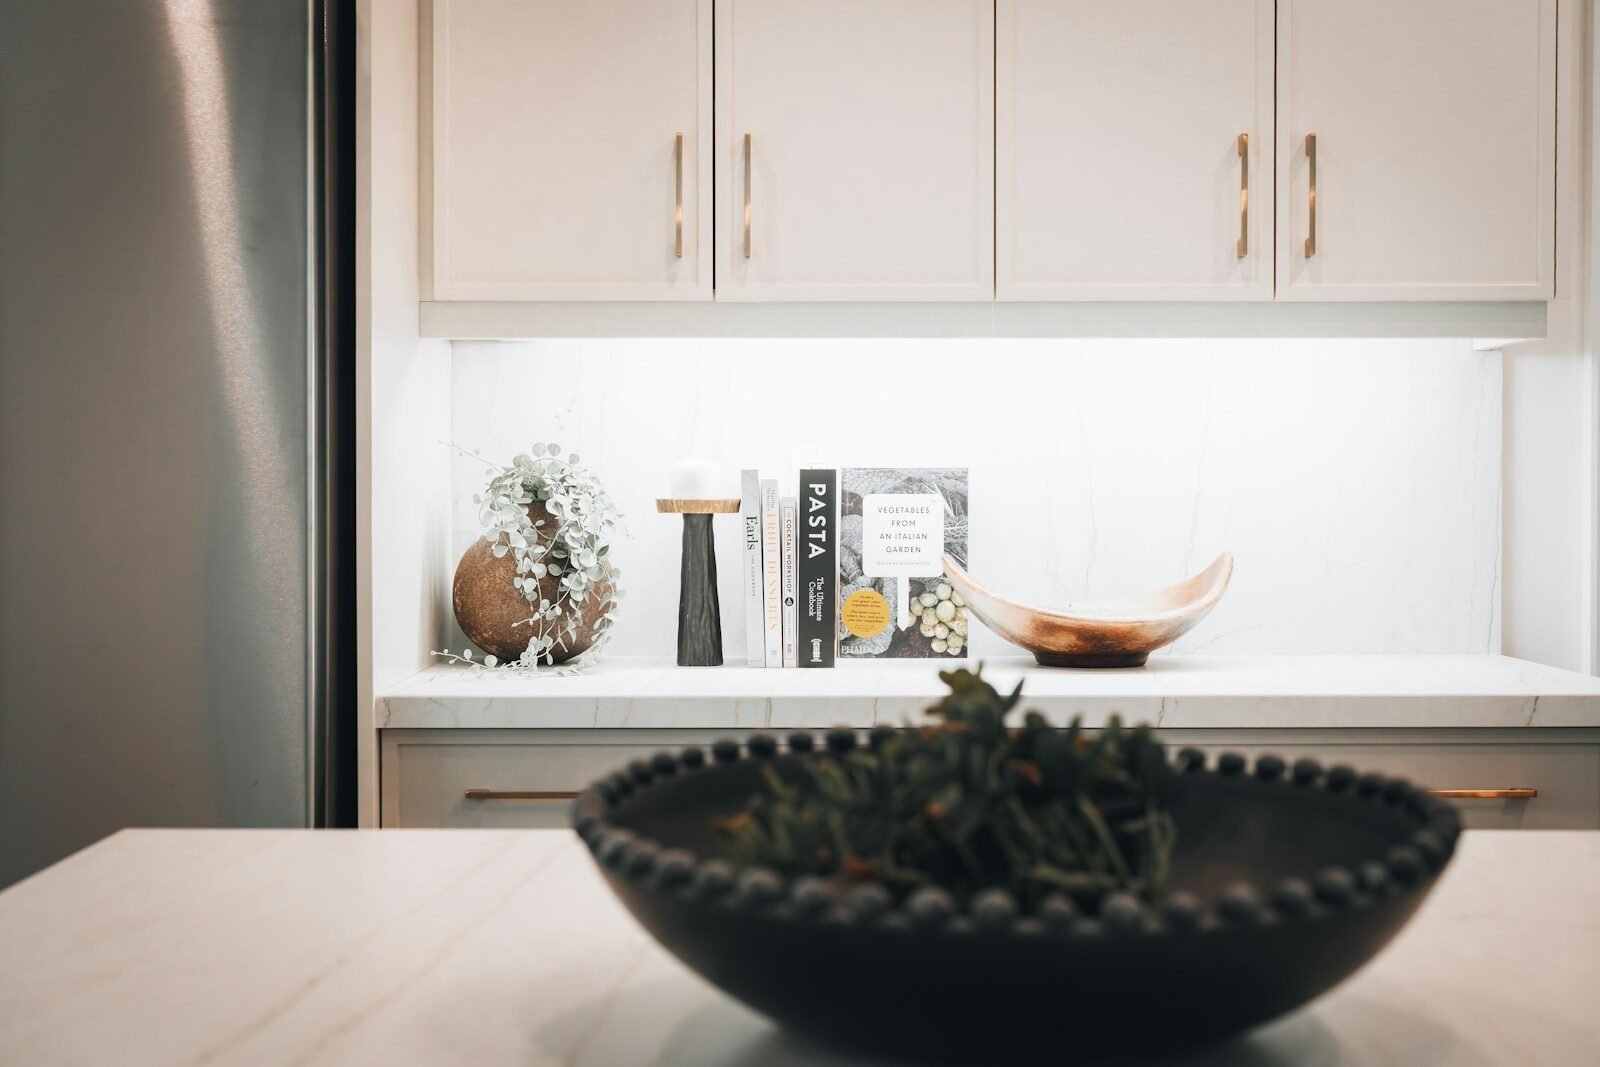
The most common mistake above cabinets is variety. A vase here, a plant there, a stack of books at the end, and a decorative sign in the middle adds up to visual noise, especially because the display sits at eye level from across the room and near the ceiling line. A calmer rule works better: pick one material or one colour family and repeat it.
For example, you might use only warm wood tones: a wooden dough bowl, a small wooden crate, and a wooden cutting board leaning against the wall. Or only white and cream ceramics: a few pitchers and bowls in similar glazes, spaced apart. Or only greenery, with no other objects at all. Repetition makes a small collection look intentional, even if it only has three or four pieces.
Spacing matters as much as the objects. Leave clear gaps between items so each one has breathing room, and leave at least one stretch of empty cabinet top. Empty space is not wasted space; it is what stops the display from looking crowded. A good starting point is to fill no more than two-thirds of the length, and to step back and look from the doorway before adding anything else. If the display looks busy from the doorway, remove one piece rather than adding another.
Bring in greenery, with care
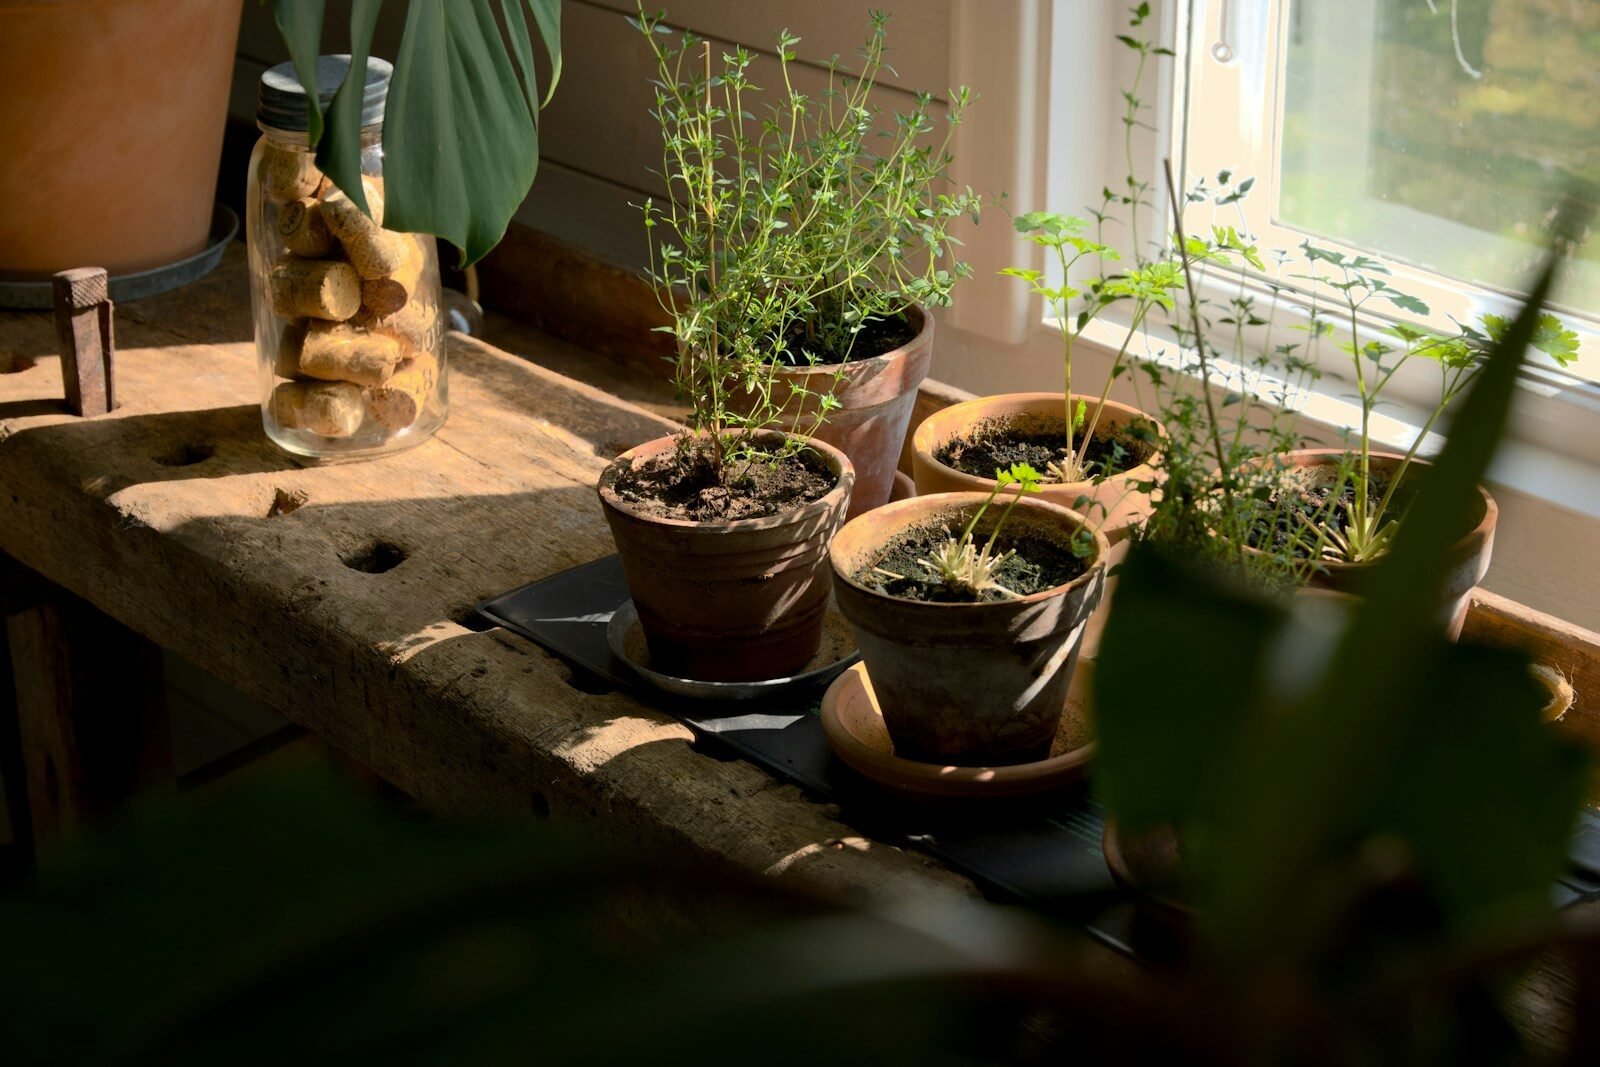
Plants are one of the most forgiving choices for the tops of cabinets. Trailing plants soften the hard line where the cabinet meets the wall, and a row of potted herbs or leafy plants adds colour to a room that is otherwise full of hard surfaces. Real plants do need light and water, though, and the top of a cabinet is often darker and warmer than the rest of the kitchen. Choose plants that tolerate low light and occasional missed watering, and check that their pots have drainage so water does not damage the cabinet top.
Faux plants are a reasonable alternative here, and this is one place where they make practical sense. Good-quality faux greenery does not need water, does not drop leaves into your cooking area, and does not suffer in the warm, dry air above the cabinets. The trade-off is dust: faux leaves collect it visibly, so they need a wipe or a shake outdoors every few weeks. Whether you choose real or faux, keep plants away from the stove and any heat source, and avoid trailing vines that could hang down into the cooking area or over the edge where they might be pulled.
A simple arrangement works well: one trailing plant at each end of the run and a single upright pot in the middle, or a row of three small pots in matching containers. Avoid mixing many plant types and pot styles, which brings back the clutter problem.
Add light to finish the look
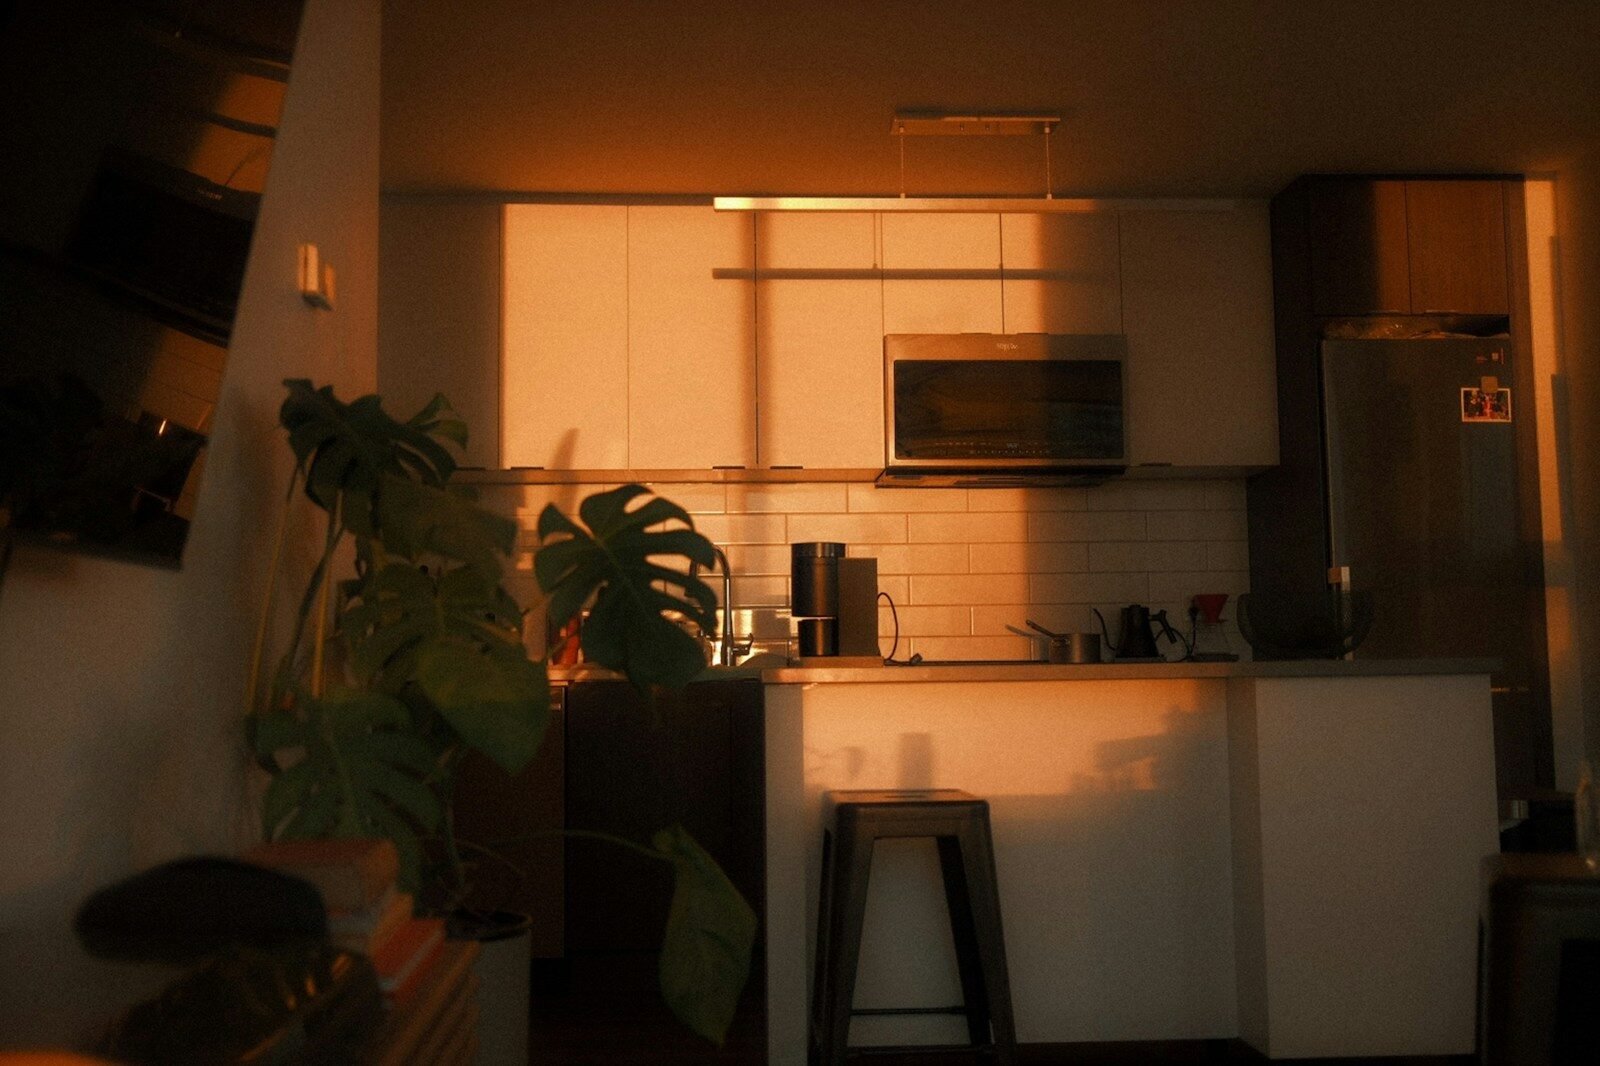
Light changes how the whole display reads, especially in the evening. A warm, soft light above the cabinets makes the gap feel like part of the room instead of a dark shelf. Battery-operated LED strips or puck lights are the easiest option because they need no wiring. Stick or mount them along the front underside of the gap, where they wash light upward across the wall and the objects, and choose a warm white tone rather than a bright cool one, which can look harsh in a kitchen.
If you want wired lighting, or you are unsure about the electrical side of the job, hire a licensed electrician. Do not run new wiring yourself unless you are qualified, and never place lights against flammable materials or where heat can build up. Keep lights and their batteries away from the stove, and check battery lights now and then so they do not leak or overheat.
Light also helps you see dust and grease build-up, which is a useful side effect: a display you can see clearly is a display you will actually maintain.
A few brief points worth knowing
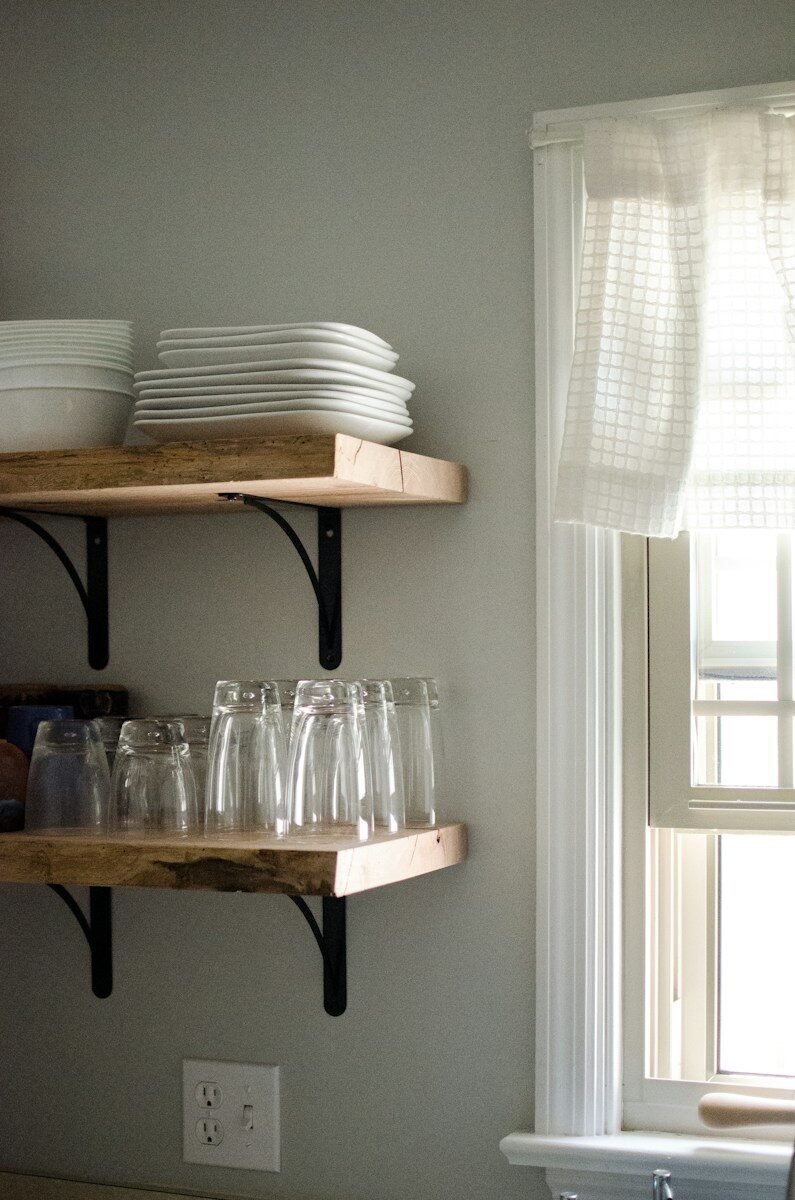
Display plates, platters, and cookbooks sparingly. A single row of upright platters or a short stack of large cookbooks can look charming, but only if the rest of the run stays clear. If you already have baskets or plants up there, do not add plates as well; one idea per run is enough.
Seasonal touches work if you keep them small. A wreath hung on the wall above the cabinets, or a couple of autumn or winter pieces swapped in for a few weeks, adds interest without a permanent display. Put a reminder in your calendar to take seasonal pieces down, or they will quietly become permanent clutter.
Renters can use all of these ideas without drilling. Baskets, freestanding plants, and battery lights need no fixings, and a leaning board or tray needs no holes. If you do want to hang anything on the wall, check your rental agreement first and use removable hooks rated for the weight.
What to avoid is as important as what to add. Do not place heavy objects above cabinets, do not store anything flammable near the stove or oven, do not block vents or light fixtures, and do not put up anything you cannot clean. Sentimental or valuable pieces are better displayed at eye level, where they are safe from heat, grease, and falls.
Cleaning deserves a routine, not a rescue mission. A quick wipe of the cabinet tops and a dust of the objects every month or two keeps the display looking fresh and prevents grease from building into a stubborn layer. If you use baskets, take them down, shake them out, and wipe the surface beneath. If you use plants, wipe the leaves at the same time. Ten minutes a few times a year is all it takes, and it is much easier than a deep clean after a year of neglect.
Conclusion
The tops of your cabinets do not need a grand design. They need one clear choice, a few well-chosen pieces, and a routine for keeping them clean. Whether you use matching baskets for hidden storage, a repeated colour for a calm display, greenery for softness, or a strip of warm light, the goal is the same: a kitchen that feels finished without feeling crowded. Kitchen decorating ideas above cabinets succeed when the display suits the room, respects heat and safety, and stays simple enough to maintain. Start with a clean, measured space, pick one approach, and let the empty space do its part.
Disclaimer: This article is for general informational purposes only. Always follow manufacturer instructions and local safety guidance, and hire a licensed professional for electrical, structural, or gas work.