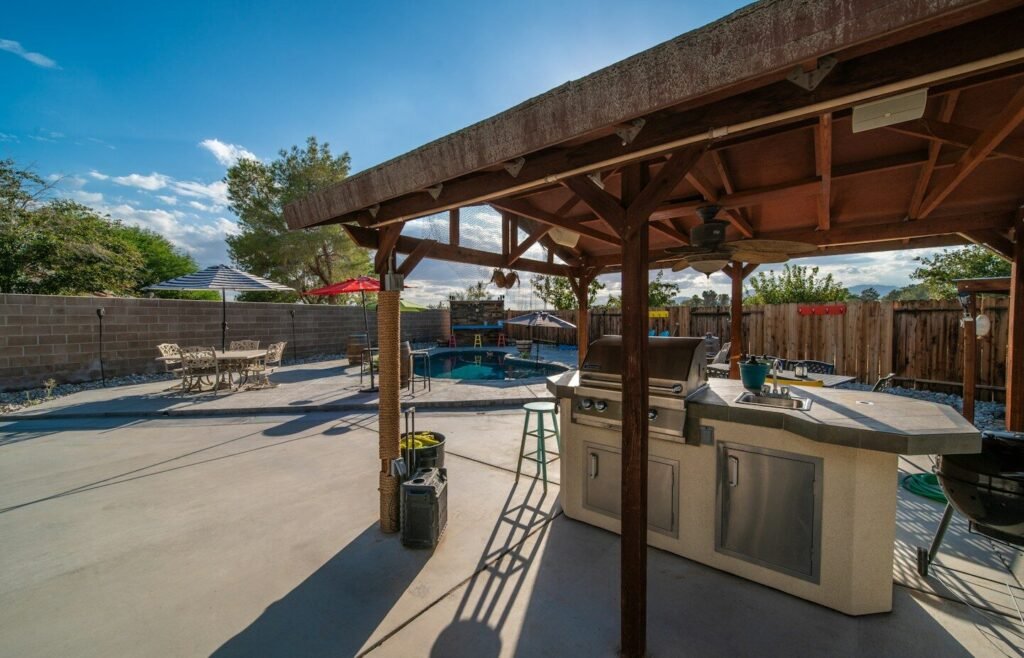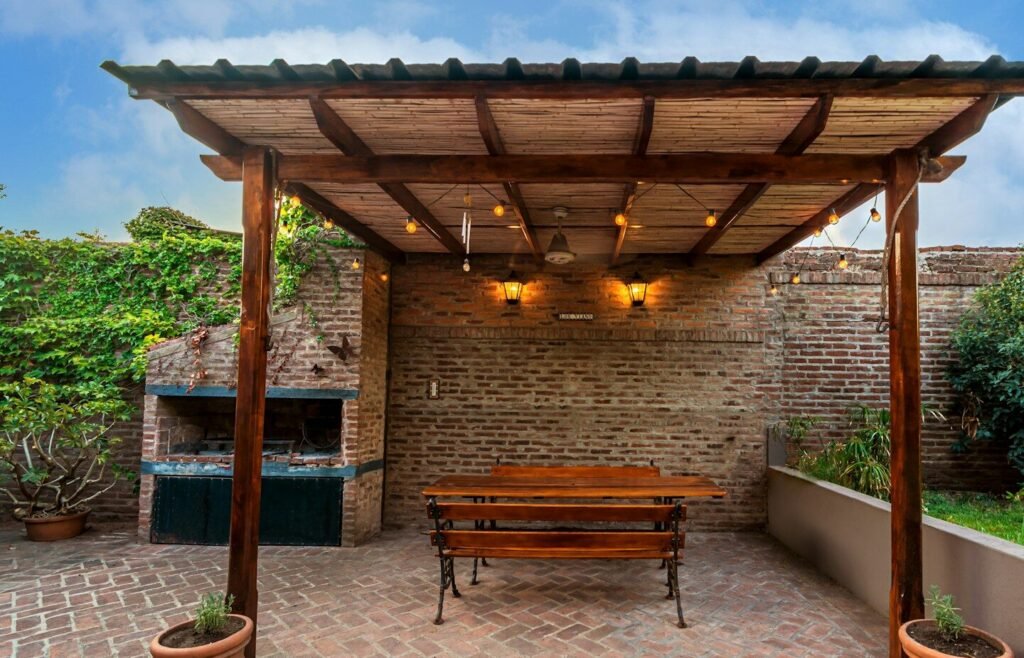
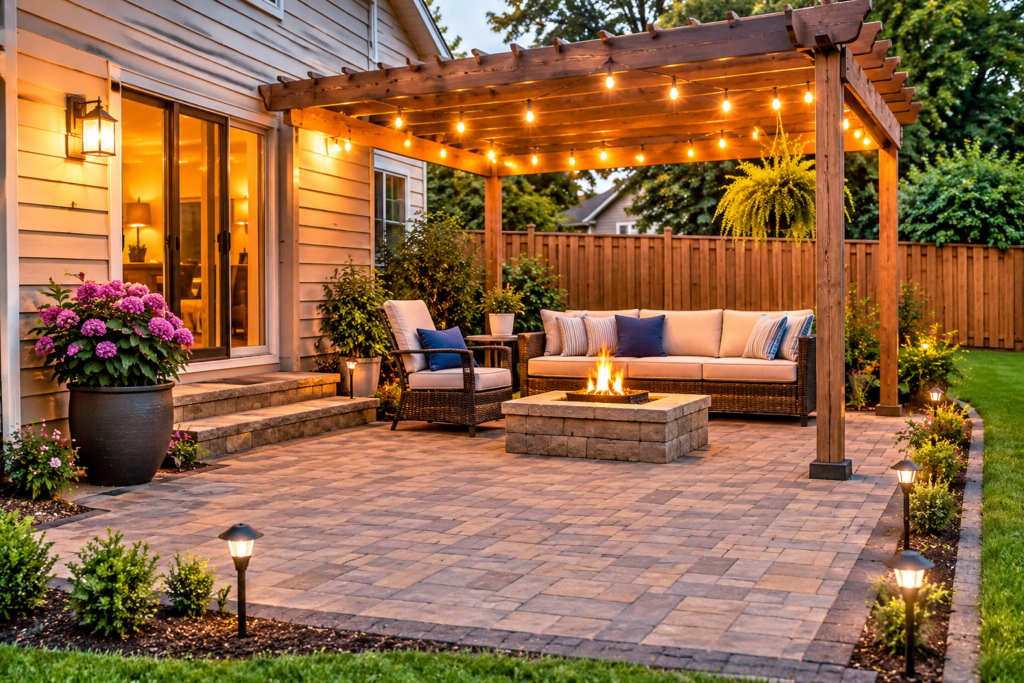
A do-it-yourself patio is one of the most satisfying home projects because you can see the result every day. The best DIY patio ideas start small, use materials you can handle safely, and leave room to improve the space over time. A patio doesn’t need to be large or elaborate to become a favourite place for meals, quiet mornings, and evenings outside.
The key is to match the project to your skills, tools, and time. A simple gravel or paver patio is a realistic weekend project for many people. A raised patio with retaining walls, major drainage changes, or new electrical work is a different job, and it is worth getting professional help for those parts.
Plan Before You Buy Anything
Good planning saves more time than any tool. Measure the area, note doors, steps, gates, and slopes, and decide how you will use the patio. A dining patio needs a flat, stable area for a table and chairs. A lounge patio needs room for chairs and a small table, plus a path that doesn’t cross seating.
Check what lies underground before you dig. Call your local utility marking service and mark gas, water, electric, and other lines. Avoid digging near tree roots that support a large tree, and keep the patio away from septic systems, wells, or drainage fields unless you have clear guidance that the location is suitable.
Also check local rules. Some areas require permits for raised patios, walls over a certain height, or structures attached to the house. A quick check with your local building office can prevent a project that has to be changed later.

Choose a DIY-Friendly Surface
Gravel Patio
A gravel patio is often the simplest DIY option. It drains well, costs less than pavers or concrete, and can be shaped to fit an irregular yard. The job involves marking the area, removing grass and topsoil, adding landscape fabric, edging, and a compacted base, then topping it with gravel.
Gravel works best for lounge areas and fire pit spaces, where chairs don’t need a perfectly smooth surface. It is less ideal for dining tables, since chairs can sink or wobble, and it can scatter into lawns and beds without good edging. Choose angular gravel rather than smooth pea gravel for better stability underfoot.
Paver Patio
Pavers give a firm, attractive surface and can be replaced one at a time if one cracks. A basic paver patio involves excavation, a compacted gravel base, a layer of bedding sand, pavers laid in a pattern, and joint sand swept into gaps. The work is physical, but the steps are straightforward and well documented in guides from paver makers.
Simple patterns, such as running bond or basket weave, are easier for a first project than complex herringbone layouts. Start in a corner, keep joints even, and check levels often. A rubber mallet, a level, and a plate compactor, which you can often rent, help a great deal. Take your time with the base, since a weak base leads to uneven pavers later.
Concrete Pavers on a Deck Frame
If your yard has a slope or an uneven surface, a low deck-style patio can level the area. This is a bigger project that involves posts, framing, and boards, and it needs careful attention to footings, spans, and safety rails where height requires them. When unsure about framing or footings, get advice or help from a builder, especially for decks above ground level.
Painted or Stained Existing Concrete
If you already have a concrete slab in decent shape, painting or staining it can refresh the space for far less work than a new patio. Clean the slab well, repair cracks, and use products made for exterior concrete. This approach works best when the slab drains well and has no major settling or cracking, since coatings won’t fix structural problems.

Build in the Right Order
A clear order keeps a DIY patio project on track. First, mark the layout with stakes and string, and walk through it to check furniture fit and paths. Next, handle drainage and grading, so water moves away from the house. Then excavate, build the base, lay the surface, and finish edges.
Don’t skip the base. For pavers, a compacted gravel base, typically several inches deep depending on soil and use, gives stability and drainage. For gravel patios, a compacted base plus edging keeps the surface from migrating. Skipping this step is the fastest way to end up with a patio that dips, puddles, or shifts after the first rainy season.
Work in sections if the patio is large. Completing one area well is better than rushing the whole job in one weekend and living with uneven sections. Cover unfinished areas at night and keep tools and materials tidy, especially if children or pets use the yard.
Add Shade, Seating, and Lighting in Stages
You don’t need to finish every detail in the first weekend. Start with the surface and core seating, live with the space for a few weeks, and notice where sun falls, where wind comes from, and where you naturally sit. Then add shade and lighting based on real use.
A large umbrella is a simple first shade option, since it moves with the sun and needs only a heavy base. A pergola is a bigger project, but a simple kit or a freestanding frame can be a realistic next step when comfortable with basic carpentry and anchoring. Always anchor structures properly for wind, and check local rules for height and placement.
For lighting, start with solar path lights and battery lanterns for seating. They are simple to place and let you test positions before you commit to wired lights. For any new outdoor circuits or fixed electrical work, ask a qualified electrician for help, and never run indoor extension leads outside as a permanent solution.

Furnish With Pieces You Can Move and Maintain
DIY patios often work best with flexible furniture. A folding table, stackable chairs, and a bench with storage let you adapt the space for quiet evenings and larger gatherings. Look for frames that resist rust and cushions with removable covers you can wash.
Build simple furniture only if you enjoy the work and have the tools. A pallet sofa or a crate table can look charming, but check that wood is safe for outdoor use, sand sharp edges, and seal it against weather. Avoid using treated wood or pallets of unknown origin for food-contact surfaces, and keep furniture stable so it doesn’t tip on uneven ground.
Planters are an easy DIY win. Large pots, wooden planters, and raised beds add colour and soften edges without major construction. Choose pots with drainage holes, and place them where they won’t block paths or trap water against the house.

Budget, Tools, and Time Tips
Set a budget that includes the base, edging, surface, tools, and delivery costs, not just the visible pavers or gravel. Delivery fees, compactor rental, and extra base material often surprise first-time builders. Buy a little extra surface material for cuts and breakage, and keep spare pavers for future repairs.
Borrow or rent tools you will use once, such as a plate compactor or a wet saw for pavers. Buy quality basics you will reuse, such as a good level, a shovel, a wheelbarrow, and work gloves. Wear eye protection when cutting stone, gloves when handling pavers, and sturdy shoes throughout the job.
Be realistic about time. A small gravel patio might take a weekend, while a paver patio of the same size can take two or three weekends, especially when learning as you go. Weather, soil, and delivery delays all affect the schedule, so plan a buffer and don’t rush the base to meet a deadline.
Mistakes to Avoid
The most common DIY mistake is a weak or uneven base. It shows up as dips, puddles, and rocking pavers within a season. Take time to excavate to a consistent depth, compact in layers, and check levels as you go.
Another mistake is ignoring drainage. A patio that slopes toward the house can send water into basements, crawl spaces, or siding. Keep a gentle slope away from the house, and don’t pile soil or pavers against siding or vents.
Choosing a surface that doesn’t suit the use is another issue. Gravel under a dining table, smooth tiles in a wet area, or a soft surface under a heavy grill can all cause frustration. Match the surface to how you will actually use the patio.
Finally, don’t start digging without checking utilities and local rules. A marked line or a quick permit check takes little time and can prevent a costly or dangerous surprise.
Frequently Asked Questions
What is the easiest DIY patio to build?
A gravel patio is often the simplest, since it needs fewer precise cuts and levels than pavers. A small paver patio is also realistic for a beginner, provided you take time with excavation and a compacted base.
How deep should I dig for a paver patio?
Depth depends on soil, climate, and use, but a common approach is to excavate enough for a compacted gravel base, bedding sand, and the paver thickness, so the finished surface sits at the planned height and drains away from the house. Follow guidance from your paver supplier for your soil and frost conditions.
Can I build a patio over grass?
You can, but you should remove grass and topsoil first and build a proper base. Laying pavers or gravel directly on grass leads to sinking, weeds, and uneven surfaces within a short time.
Do I need a permit for a DIY patio?
It depends on your area and the project. Ground-level patios often don’t need a permit, but raised patios, retaining walls, and structures attached to the house may. Check with your local building office before you start.
Conclusion
A DIY patio rewards careful planning more than fancy materials. Measure well, check utilities, build a solid base, and choose a surface that fits how you will use the space. Add shade, seating, and lighting in stages, and live with the patio for a season before you add more. That steady approach gives you a patio you built yourself, that stays level, drains well, and gets used often.
Disclaimer:
This content is for general informational purposes only. Individual homes, needs, preferences, budgets, and situations may vary. For safety, installation, repair, structural, electrical, plumbing, HVAC, legal, or major property decisions, seek advice from a qualified professional before starting work.